
[ad_1]
On this article, we’ll take a look at ship emails with React Electronic mail and Resend. We’ll additionally construct a regular portfolio touch shape for sending the ones emails the usage of Subsequent.js.
Till just lately, growing and sending emails in React used to be extraordinarily tricky, as there used to be no right kind documentation on create electronic mail templates with hacky <desk> tag methods, or documentation on ship emails.
A lot of the trouble with the usage of emails has been alleviated through the advent of React Electronic mail and Resend. Those merchandise — which have been advanced through the similar staff — have created an excellent developer revel in for operating with emails.
Surroundings Up the Subsequent App
Let’s get started through putting in place Subsequent.js. Clone the starter department of this GitHub repo to get the starter code. The picture under displays what we will have to see once we run the advance server.
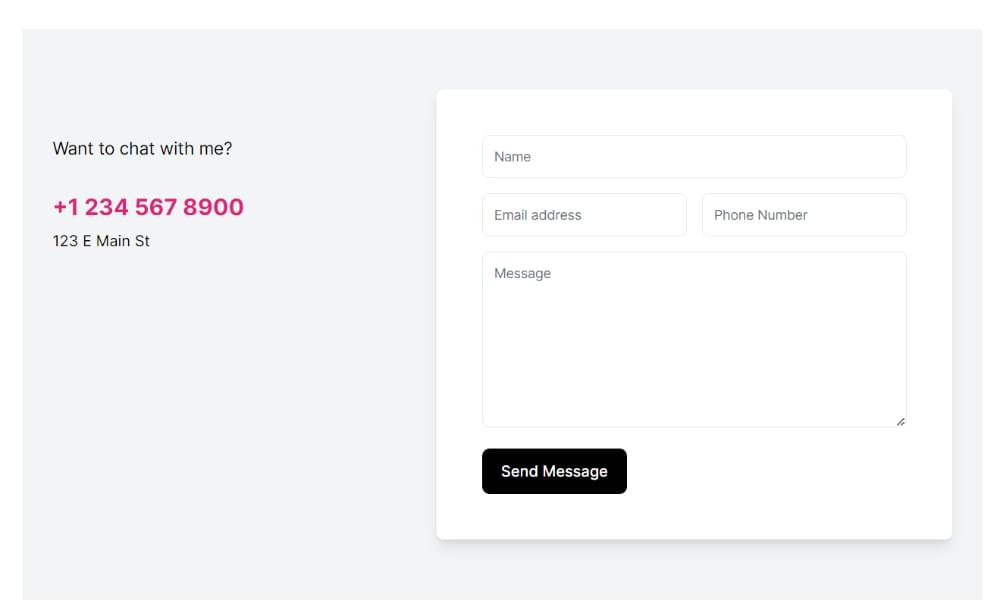
The starter code is composed of a easy Subsequent.js 13 app (with the App Router) that has a touch shape part with right kind validation the usage of Zod and React Hook Shape.
We’ll be imposing the onSubmit serve as within the touch shape part:
serve as onSubmit(values: z.infer<typeof formSchema>) {

  console.log(values);
}
Observe: we gained’t quilt construct the shape or taste the e-mail itself, as that may be executed with Tailwind or common CSS.
Surroundings Up Resend
Le’t now take a look at arrange Resend.
Getting the API key
To ship the e-mail with the Resend SDK, we first want to retrieve an API key. Head over to Resend’s site and log in or create an account together with your electronic mail or GitHub main points.
After you’ve logged in, you will have to see the dashboard as pictured under.

Press the Upload API Key button to get the API key. Upon getting your API key, move to the basis of the undertaking and create a .env.native report and paste the API key as follows:
RESEND_API_KEY=************
This may occasionally permit us, afterward, to make use of Resend services and products inside of our app.
Verifying a site
Resend calls for that we test a site from which we wish to ship limitless emails through including a DNS document on their site.
To do that, head over to the Resend dashboard and move to the Domain names tab and press the Upload Area button, as pictured under.
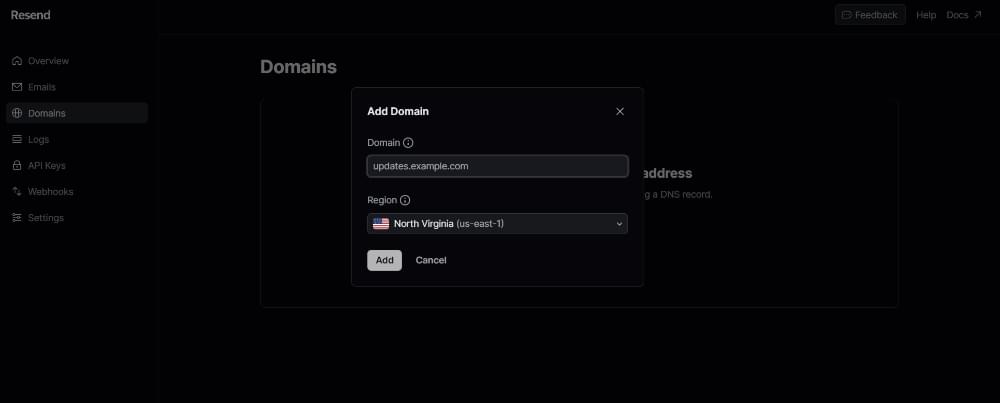
From there, we will be able to test the area and use that particular electronic mail cope with. For this easy instructional, we gained’t be verifying any electronic mail addresses.
Developing the Electronic mail Part
It’s now time to create the e-mail part. Within the elements folder, create a report known as Electronic mail.tsx and import the next elements from React Electronic mail:
import {
  Frame,
  Container,
  Head,
  Heading,
  Hr,
  Html,
  Preview,
  Tailwind,
  Textual content,
} from "@react-email/elements";
import * as React from "react";
For the e-mail, the one issues that may alternate would be the shape information values (this is, the title, message, electronic mail cope with, and get in touch with selection of the individual). Those values can be utilized as props for the e-mail, so let’s create an interface for that:
interface ContactMeEmailProps {
  title: string;
  emailAddress: string;
  phoneNumber: string;
  content material: string;
}
The true electronic mail part would seem like this:
const VercelInviteUserEmail = ({
  title,
  content material,
  emailAddress,
  phoneNumber,
}: ContactMeEmailProps) => {};
For the preview textual content of the e-mail, shall we simply say that “so and so has a message”. It might be carried out like this:
const previewText = `${title} has a message`;
Now for the true JSX. We’ll first want to wrap our electronic mail in an <Html> tag and render the <Head> and <Preview> tags (for the preview textual content). Then we want to wrap the content material in a <Tailwind> tag to make use of Tailwind styling, and a <Frame> tag:
<Html>
  <Head />
  <Preview>{previewText}</Preview>
  <Tailwind>
    <Frame className="bg-white my-auto mx-auto font-sans">
      {...}
    </Frame>
  </Tailwind>
</Html>
We will then upload a <Container> part with some normal styling to make the container by which the e-mail is rendered glance nicer:
<Container className="border border-solid border-[#eaeaea] rounded
my-[40px] mx-auto p-[20px] w-[465px]">
</Container>
Then within the container, we will be able to upload a easy heading with some kinds categorised “Anyone wish to touch you about one thing!”
<Heading className="text-black text-[24px] font-normal text-center p-0 my-[30px] mx-0">
  <robust>{title}</robust> wish to touch you about one thing!
</Heading>
Then we will be able to render out the true content material of the e-mail with the integrated <Textual content> part:
<Textual content className="text-black text-[14px] leading-[24px]">
  Here's the message:
</Textual content>

<Textual content className="text-black text-[14px] leading-[24px]">
  {content material}
</Textual content>
In spite of everything, we will be able to upload an <Hr> part and some other <Textual content> part with the sender’s touch knowledge for long run conversations:
<Hr className="border border-solid border-[#eaeaea] my-[26px] mx-0 w-full" />
<Textual content className="text-[#666666] text-[12px] leading-[24px]">
  This message used to be despatched through ${title}. You'll be able to touch him via his
  electronic mail {emailAddress} or his telephone quantity {phoneNumber}
</Textual content>
And with that, our electronic mail is finished. As you’ve more than likely spotted, React Electronic mail makes it easy to make emails, as a result of its integrated elements are almost just like common HTML tags.
The e-mail will have to glance one thing like the picture under.
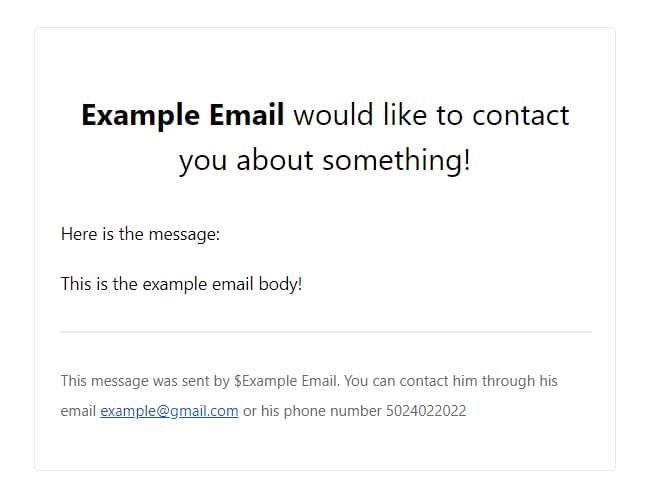
Now we’re in a position to ship the e-mail with Resend!
Sending the Electronic mail with Resend
To ship the e-mail, we first want to put in force the API endpoint. Within the report api/ship/direction.ts (already created in starter information), ensure the next imports are provide:
import ContactMeEmail from "@/elements/Electronic mail";
import { NextRequest, NextResponse } from "subsequent/server";
import { Resend } from "resend";
import * as z from "zod";
Then, create an example of the Resend SDK, as follows:
const resend = new Resend(procedure.env.RESEND_API_KEY);
Observe: should you used a distinct setting variable title on your API key, remember to substitute it correctly.
Then paste within the following Zod schema:
const sendRouteSchema = z.object({
  title: z.string().min(2),
  emailAddress: z.string().electronic mail(),
  phoneNumber: z.string().min(2),
  content material: z.string().min(2),
});
This schema represents the request frame that used to be despatched from the customer. Now let’s destructure the request frame to get those fields within the POST serve as:
const { title, emailAddress, phoneNumber, content material } = look forward to req
  .json()
  .then((frame) => sendRouteSchema.parse(frame));
Now, to ship the e-mail, we use the ship serve as from our Resend example like this:
const information = look forward to resend.emails.ship({
  from: "from electronic mail",
  to: ["delivery email"],
  matter: `${title} has a message!`,
  react: ContactMeEmail({ title, emailAddress, phoneNumber, content material }),
});
If you happen to verified your area on Vercel, you’ll be able to use an electronic mail cope with with that area at the from box, and the to box will have to be your electronic mail. If you wish to be further safe with the e-mail addresses, you’ll be able to set them as setting variables.
Now we want to put in force the true fetch motion at the consumer. Within the touch shape part (elements/ContactForm.tsx), we want to fetch the API endpoint like this within the onSubmit serve as:
look forward to fetch("/api/ship", {
  approach: "POST",
  frame: JSON.stringify({
    title: values.title,
    emailAddress: values.electronic mail,
    phoneNumber: values.telephone,
    content material: values.content material,
  }),
});
Make sure you mark the serve as as async because of the look forward to observation. It’s as much as you to make a decision how you wish to have to put in force loading and error-handling states. (You’ll be able to learn extra about async/look forward to right here.)
And with that, we’ve got effectively despatched the e-mail with Resend!
Conclusion
A lot of the headache with growing and sending emails in React has been solved with React Electronic mail and Resend. It’s a two-hit combo that gives an excellent developer revel in and will get the activity executed extraordinarily temporarily.
Seek the advice of the doctors for React Electronic mail and Resend if you wish to be informed extra about those frameworks. React Electronic mail additionally supplies many instance templates so that you can base your emails off.
You’ll be able to in finding the completed supply code on GitHub.
[ad_2]